How To Export Footage Via HDMI Interface
Being able to export stored footage is very much needed in order to submit to authorities or any party upon request.
The H-series Recorders have Two HDMI Interfaces (3.0 & 4.0). We go over both in this guide.
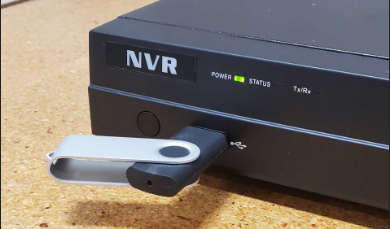
Step 1. Insert Your Flash Drive
Take your USB Flash Drive and insert it into the USB Port on the NVR
Step 2. Navigate The Menus
3.0 Interface
From the Live View, Right Click and select Menu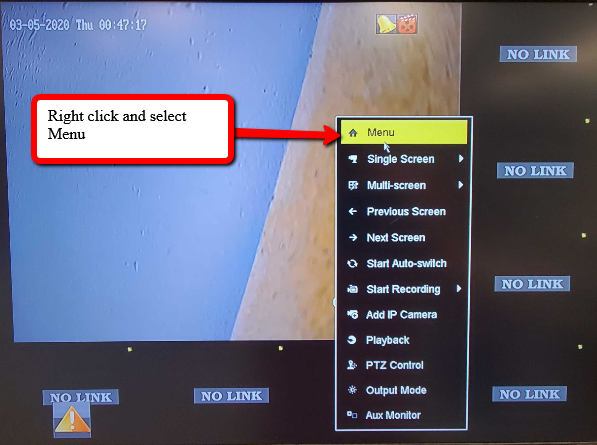
Select Export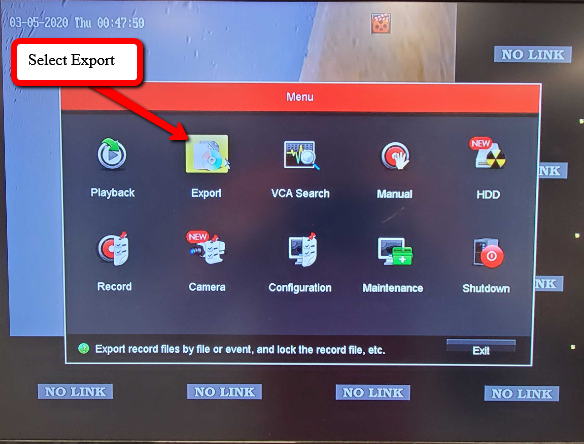
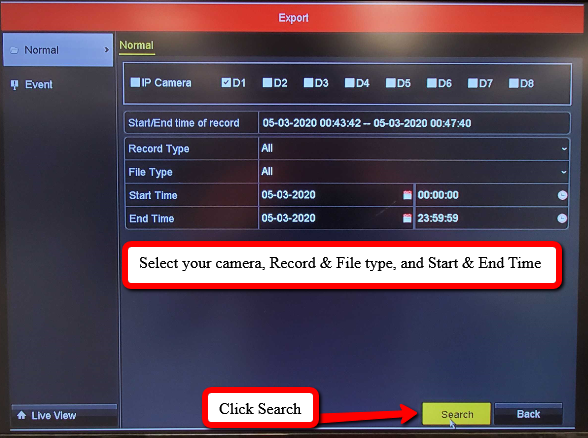
Select your Camera, Record & File Type, and Start & End Time. Then click Search
Now Select the Clips that need to be saved, then click Export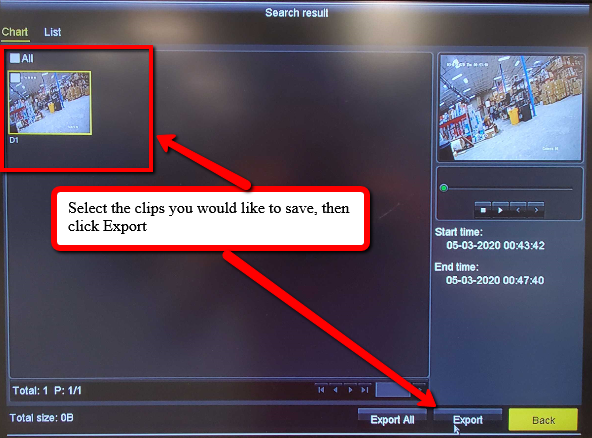
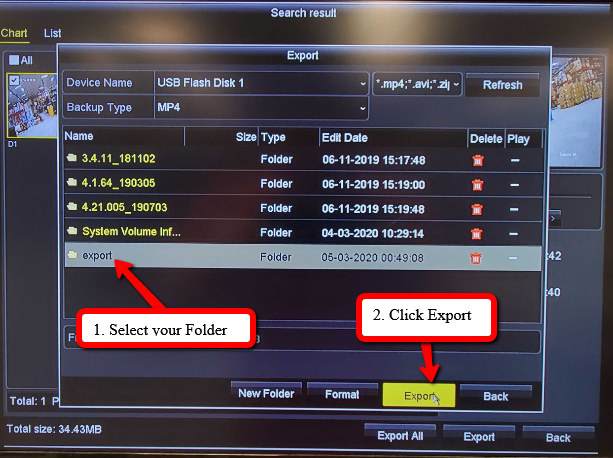
Select the folder you would like to save the file to, then click Export
Choose Video then OK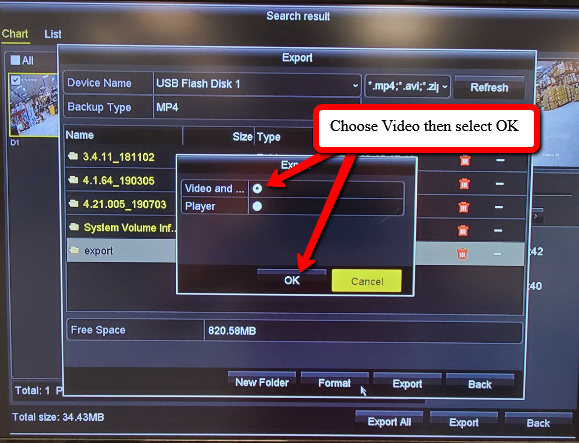
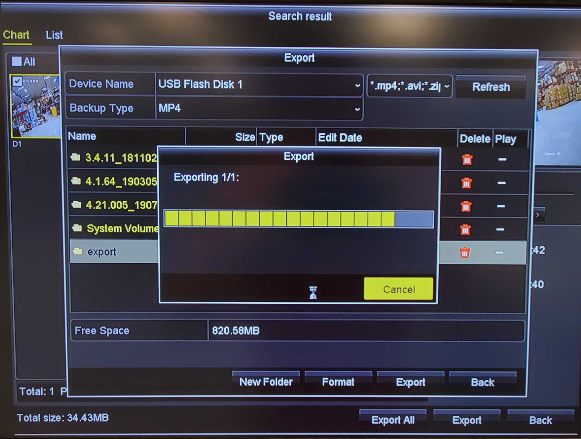
A loading prompt will appear to show the exporting status
Once Completed, a Export Finished message will appear.
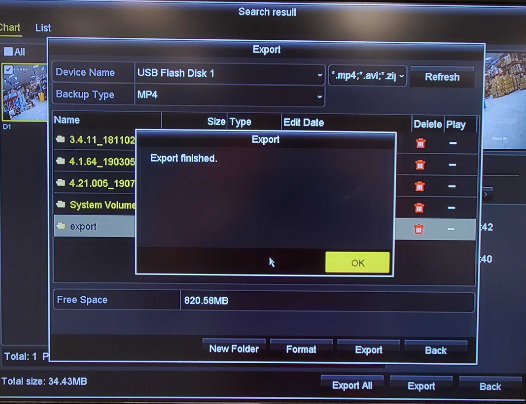
Footage on the Flash Drive can now be viewed from a PC using either the VLC or VS Player.
4.0 Interface
From the Live View Select the Menu Icon in the top left corner, then click File Management
Select the filters and click Search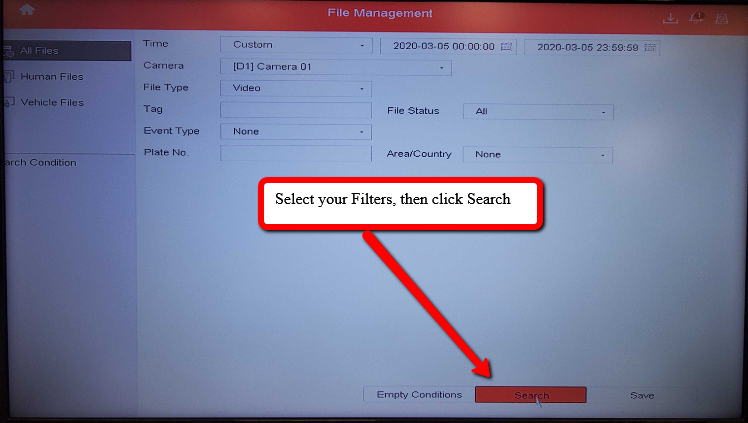
Choose the needed clips, then click Export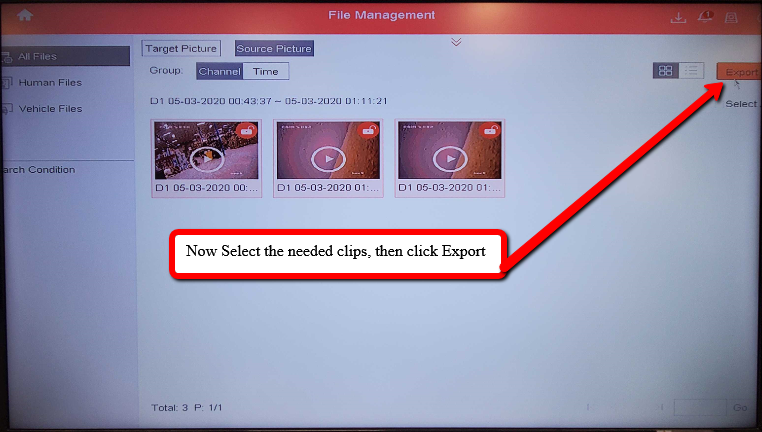
Select Video, then OK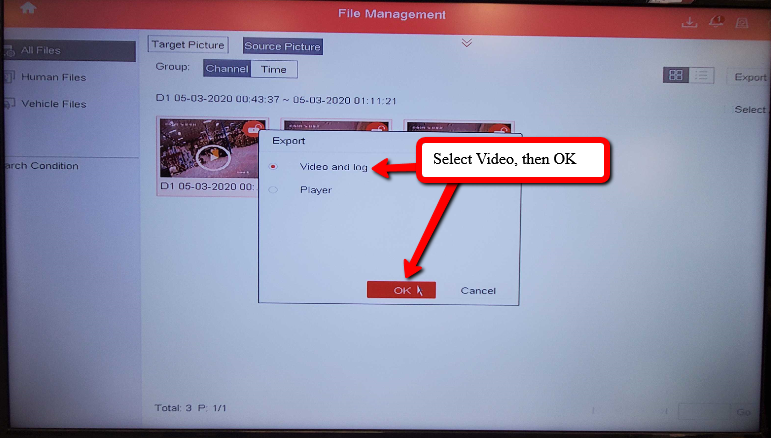
Select the Folder the footage will be saved to, then click OK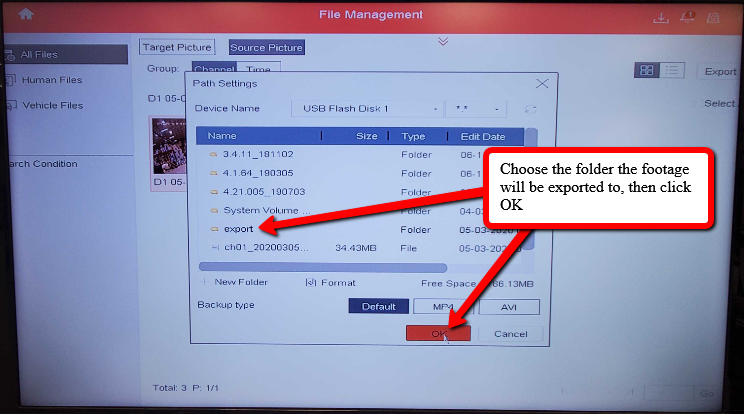
Then a Prompt will appear to export and save to the Flash Drive! You will be able to view the clips on a PC using VLC or VS Player
Was this article helpful?
Bu bilgiler sorununuzu çözmeye yardımcı oldu mu?
Still need help?
Uzman ekibimiz size yardımcı olmak için burada.