
Basic Setup & Adding Cameras Amcrest
Basic Setup & Adding Cameras (NVR)
There are 2 types of NVR:
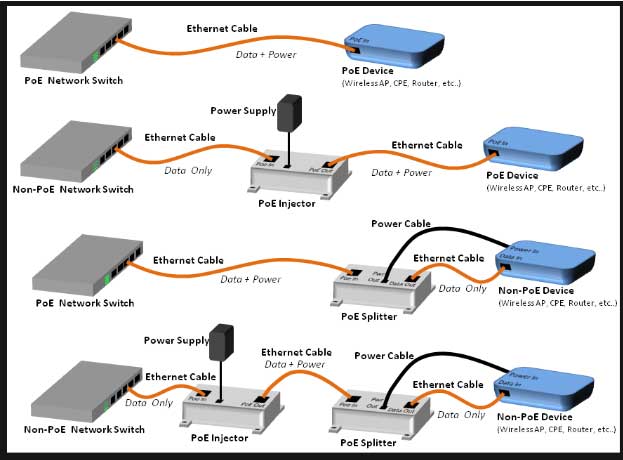
Note: If needed, a PoE camera can be setup on a Non-PoE NVR. Please note, since the Non-PoE NVR will not have PoE ports available, the PoE camera will have to be set up on the same network segment as the NVR using a PoE switch or injector. For more information on how to set up a PoE camera, click here.
Power over Ethernet models is used when cameras, that also have the PoE specification, need to be powered by being directly plugged into the NVR's PoE ports and do not require a separate power adapter to work.
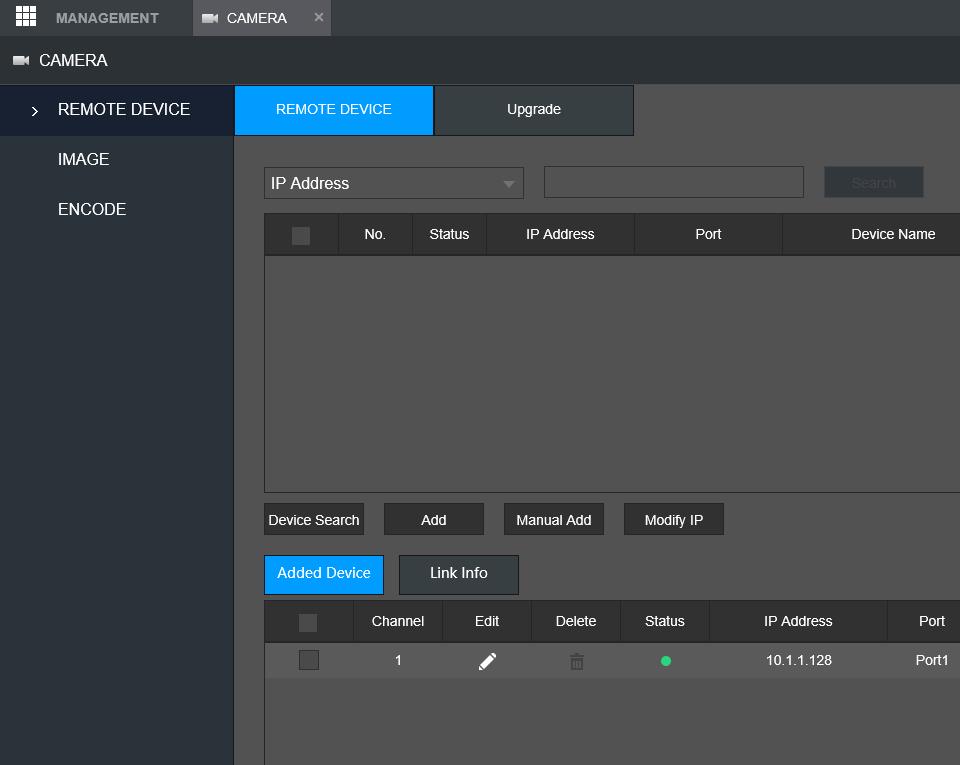
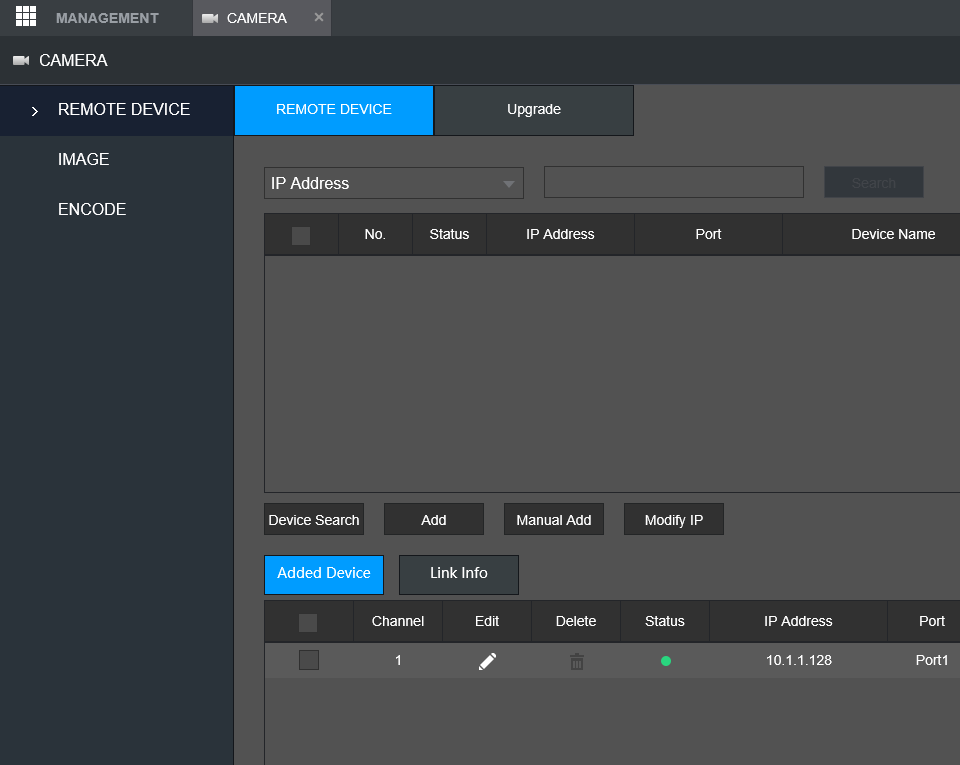
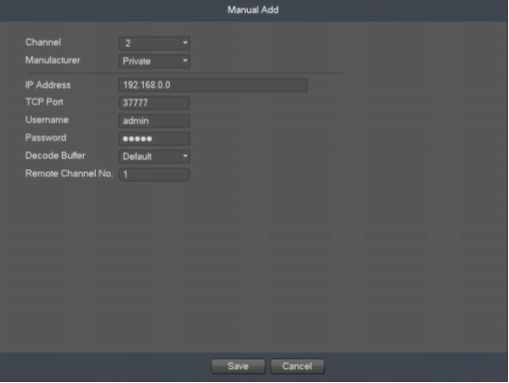
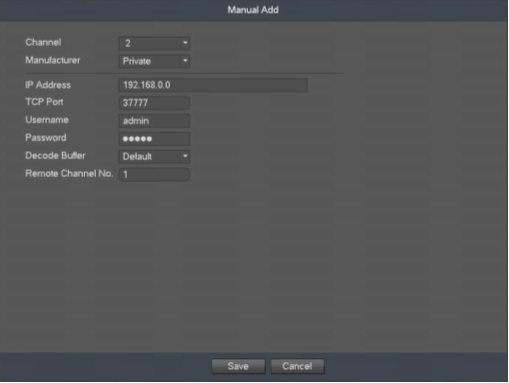
A non-PoE model has no ports for cameras to connect to on the back panel but can add cameras with the built-in scan function that finds cameras connected to the same network. A PoE model can also use this scan feature, but additionally has PoE ports to power its cameras. The scan feature allows for compatible IP cameras to be added from the network whether they are PoE or WiFi.
For the purposes of this guide, the setup procedure will be divided between both the PoE and non-PoE NVR types. Each of these sections will have both a hardware setup and software setup portion.
For more information about what is included with your NVR, click here
PoE NVR
Hardware Setup
- Connect an Ethernet cable from your router to the back of your NVR. It will go into the Ethernet port in between the HDMI port and the PoE ports. Make sure the NVR is powered on.
- Connect an Ethernet cable from one of the PoE ports on your NVR to your camera. This will confirm that it is powered on.
- Connect a VGA or HDMI cable from the back panel of your NVR to a monitor or TV. Make sure that the monitor or TV is set to the correct input (e.g. VGA, HDMI 1, HDMI 2, etc.)
- Connect the included mouse to a USB port on the front or back of your NVR.
- Connect an Ethernet cable from your router to the back of your NVR. It will go into the Ethernet port in between the HDMI port and the PoE ports. Make sure the NVR is powered on.
- Connect a camera to your switch or another router port on the same network as the NVR and make sure it is powered on. The camera must be on the same network for the NVR to connect to it.
- Connect a VGA or HDMI cable from the back panel of your NVR to a monitor or TV. Make sure that the monitor or TV is set to the correct input (e.g. VGA, HDMI 1, HDMI 2, etc.)
- Connect the included mouse to a USB port on the front or back of your NVR.
Advertisement

Did this security guide help you?
Rate this article to help fellow engineers find the best guides.

Written by
Alex Vance
Senior Security Systems Architect & IoT Consultant with over 15 years in digital surveillance design.
Discussion (0)
No comments yet. Be the first to share your thoughts!
Leave a Comment