How to Set Up 2M Station, 2M Station is the PC software to view your cameras on your computer on and offsite. This program only works with models: 2MT-4004, 2MT-4008, 2MT-4088, 2MT-4016, 2MN-8004-P4, 2MN-8008-P8, 2MN-8116-P16, 2MN-8232-P16, and our IP cameras
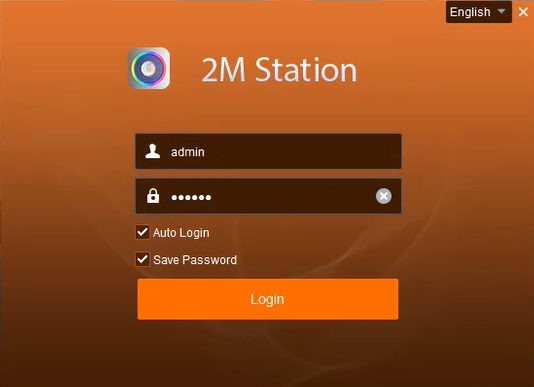
When first running the program, it will prompt you for a username and password which will be admin/123456 by default. It is recommended that you change the password after installation.
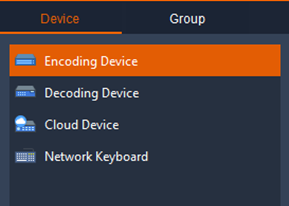
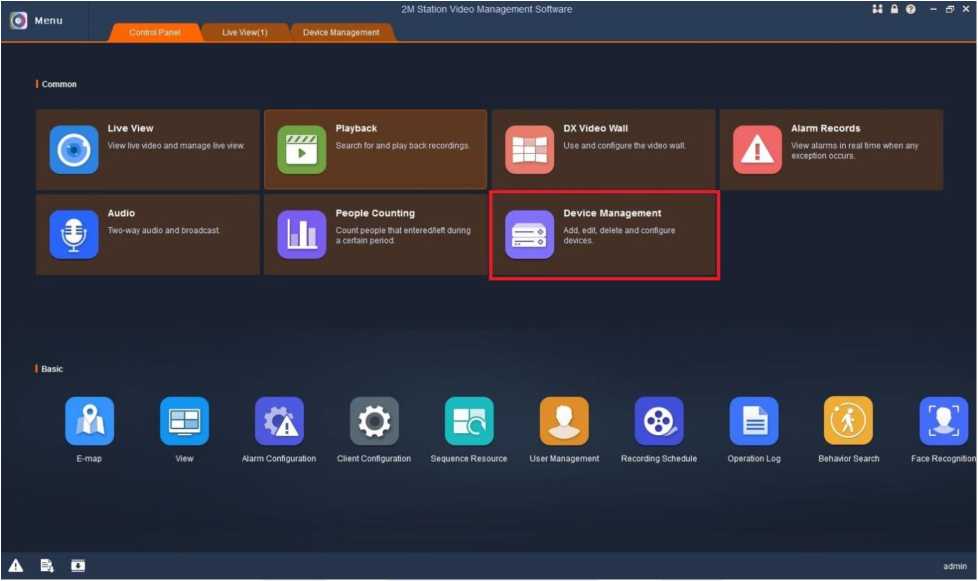
Once you are logged in it will show the menu. Click on Device Managementto add any devices. On the left side make sure that Encoding Device is selected. It will show at the bottom of the screen any devices that are online as long as the computer is on the same network as the devices.
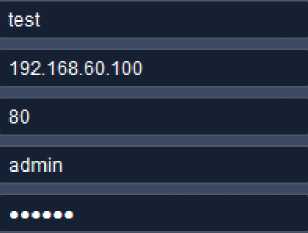
There are two methods to add an online device. The first method is fairly simple. All you need to do is check the box for the NVR that shows under Online Device and then click Add. The second method to adding an online device is to manually add it. First click on Add next to Managed Device, and it will open another window where you can input the details of your device. It will ask for:
After putting in all of the correct information of your device, click on Add and then the device should come online.
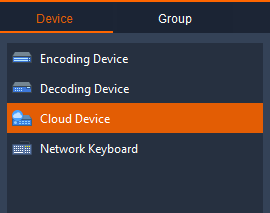
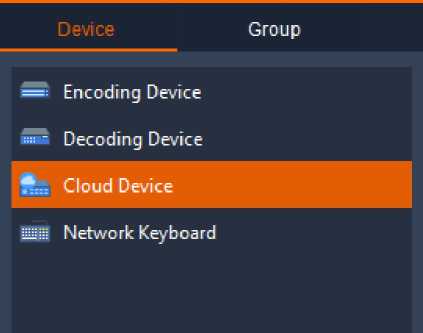
Another method to add a device is by using the P2P method which allows for a user to view their cameras offsite from any location. The device will be added as a Cloud Device instead of an Encoding Device.
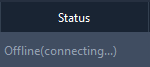
It will show Login and Register buttons that will link to your Star4Live account which will show the devices you have previously added. After logging in, it will take a minute or two for the devices to show online. At first, it will say Offline (Connecting…), but eventually the status will show Online.
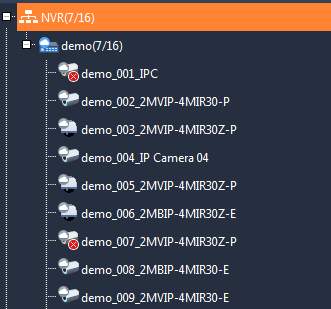
After successfully adding all of your devices, go back to the menu and click on Live View to view your cameras. A list of online devices will show on the left side of the window. Click and drag the device into the window view in order to load all of the video. If not all of the cameras are wanted in view, you can click on the plus sign next to your device and it will show a list of cameras connected to the NVR. You can click and drag specific cameras onto the live view screen.
How to Set Up 2M Station for 2MN-8XXX Series
When you log in for the first time, login info is username: admin password: 123456
To Add NVR on Local Network (will only work on site with NVR):
1. Make sure Encoding Device is selected
Device Group
=; Encoding Device
■ Decoding Device
Cloud Device
iiiiiiii Network Keyboard
2M Station should automatically read the device if it is online Under Online Device, select the device you would like to add Click on the plus sign and click add
If it does not automatically read, you can manually add it by clicking on Add in the Managed Device section
Managed Device(O) + Add 0 Edit Uli Delete O TimeSync Status
V Name IP Address Status Mode
Device Name can be anything
Add the IP address of the device
Type in username and password of the device and Add
The models 2MTHFR-2M and 2MWTK can be added and monitored through our software: 2M Station. We have updated our software to include a section for Access Control Devices, as well as a section for Access Control. Before being able to use these functions, we must add the device first.
Adding an Access Control Device
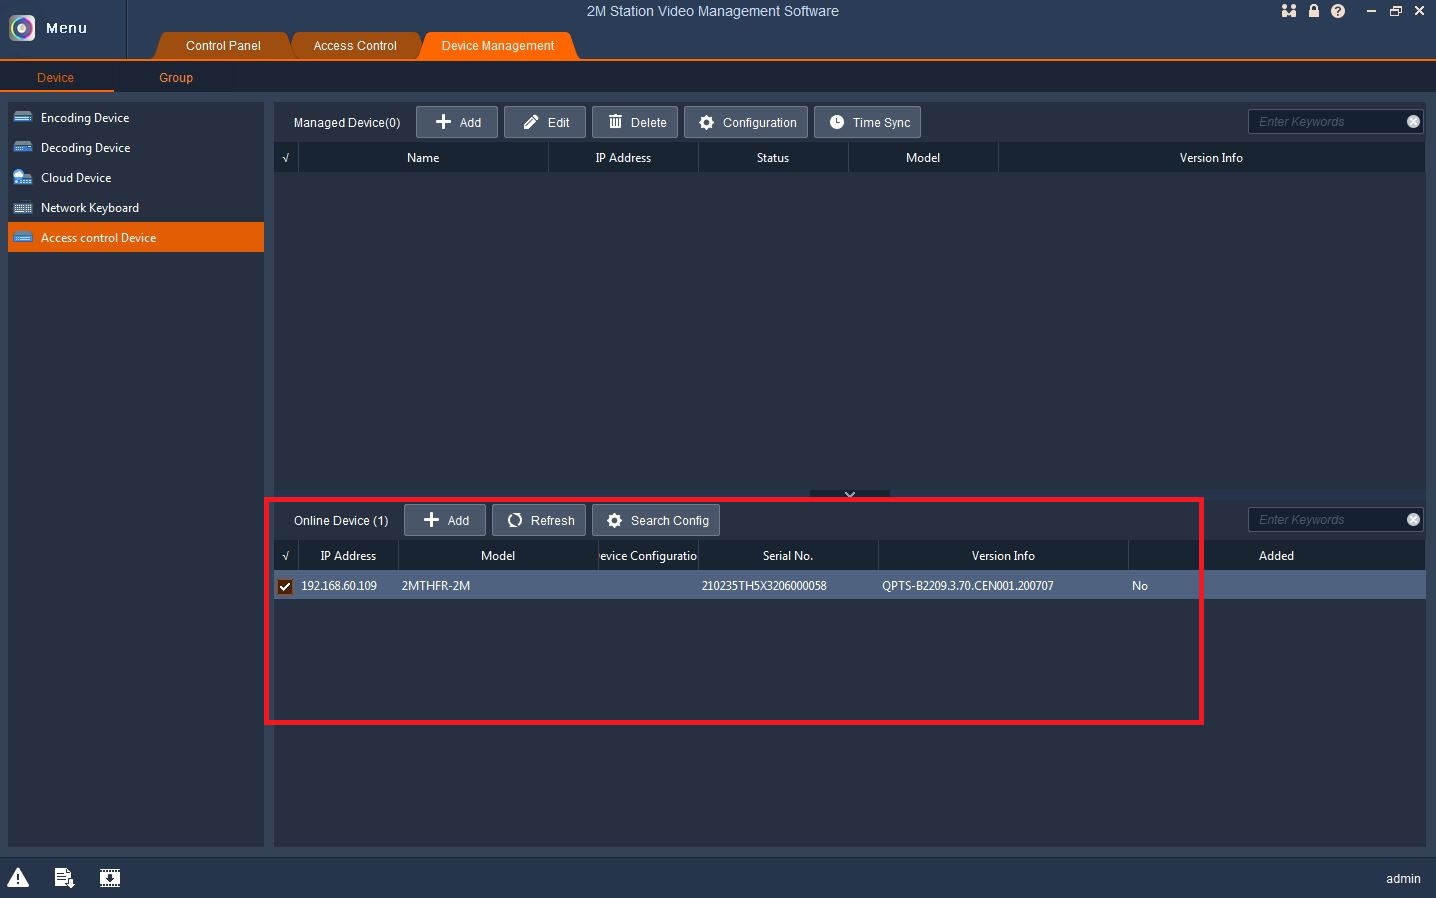
Under Device Management, a section for Access Control Device has been added for the terminals. The process of adding a unit will be the same as adding a camera or an NVR to 2M Station, and it can be done with either of the two methods:
Search: 2M Station can automatically detect any devices on the network as long as it has been allowed through the firewall and the computer and the unit are on the same network as each other. Any online devices will show on the bottom Online Device section. Select the device and click Add.
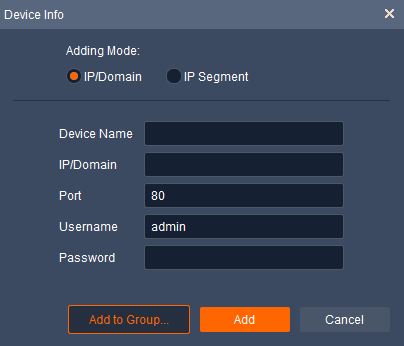
Manual: If you know the specific IP address of the unit, you could add it by clicking Add in the Managed Device section on the top. A window will pop up asking for device name, IP, port, username, and password. Input all correct information and add.
Online Device
Manual Add
How to Access Live View
After the device has been added, the unit status should show as Online in order to access its records and live view and live notifications. Under Control Panel → Access Control, there will be three sections:
Face Library Management: allows user to add people to the library
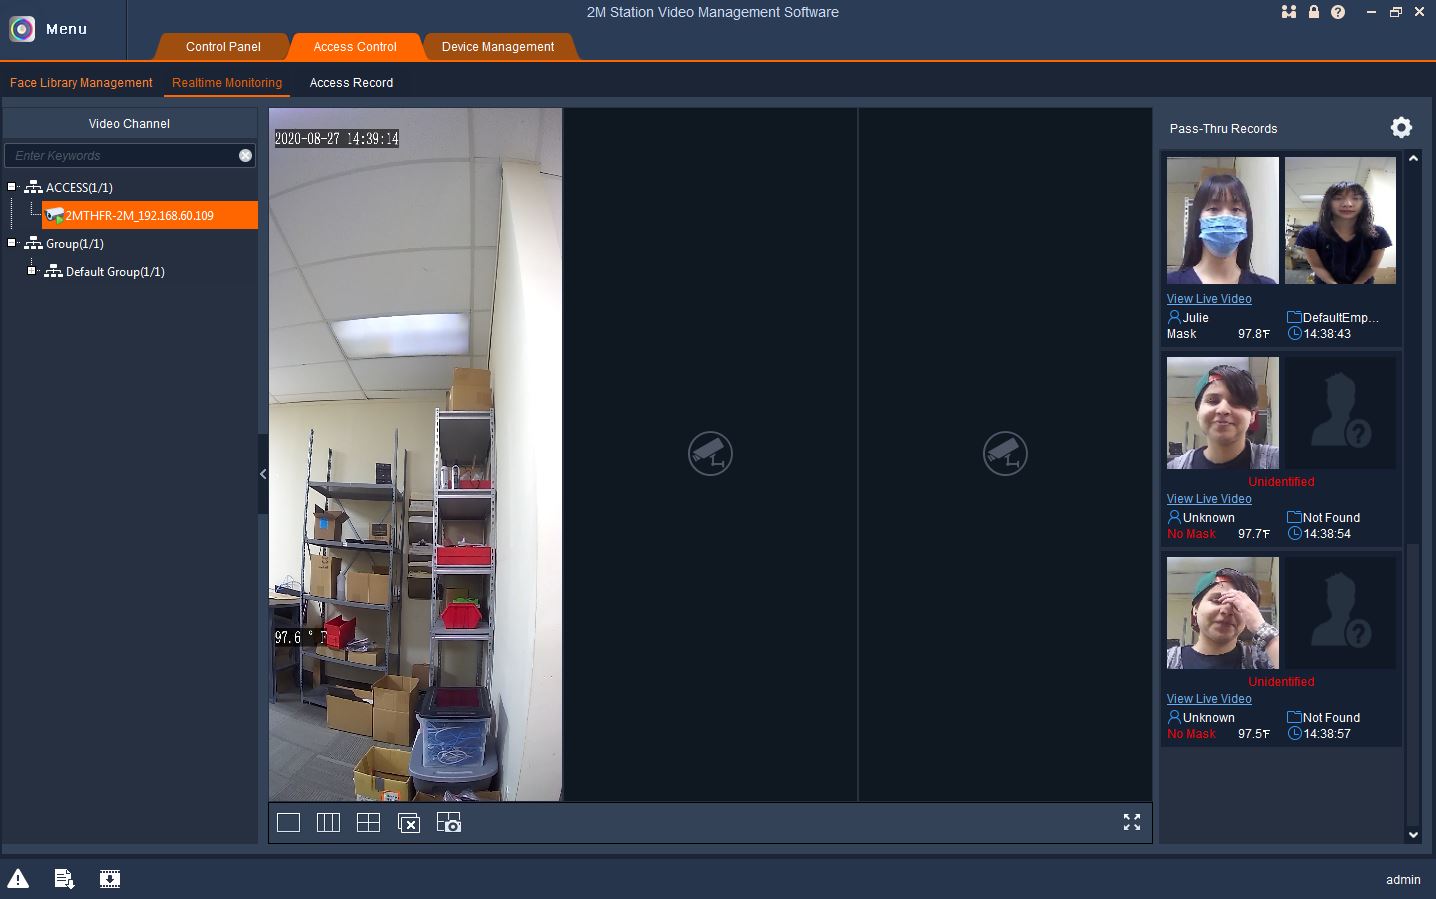
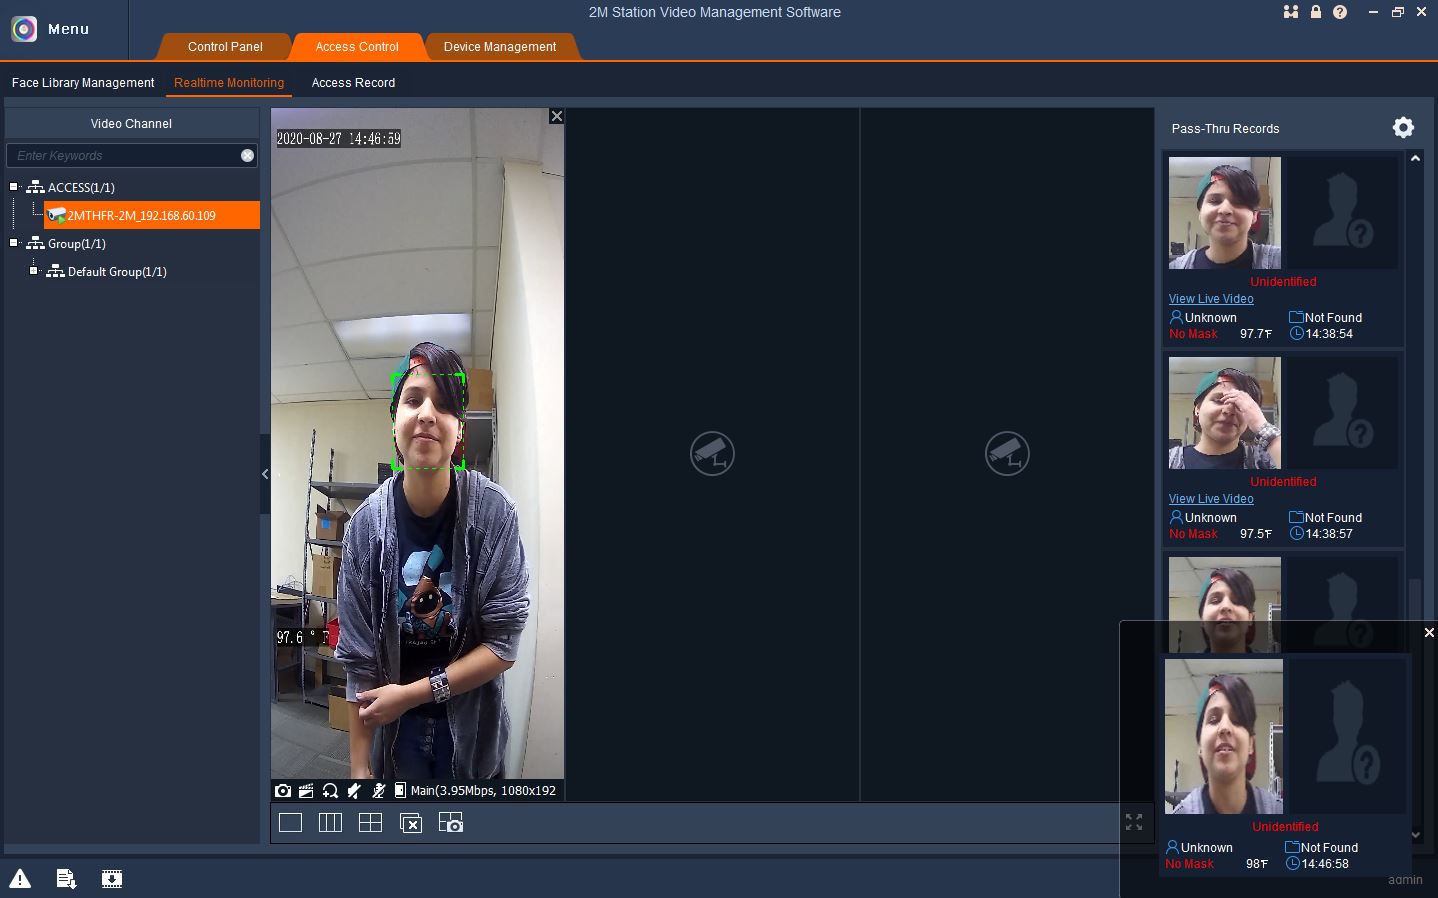
Realtime Monitoring: shows live view and real-time notifications of the unit
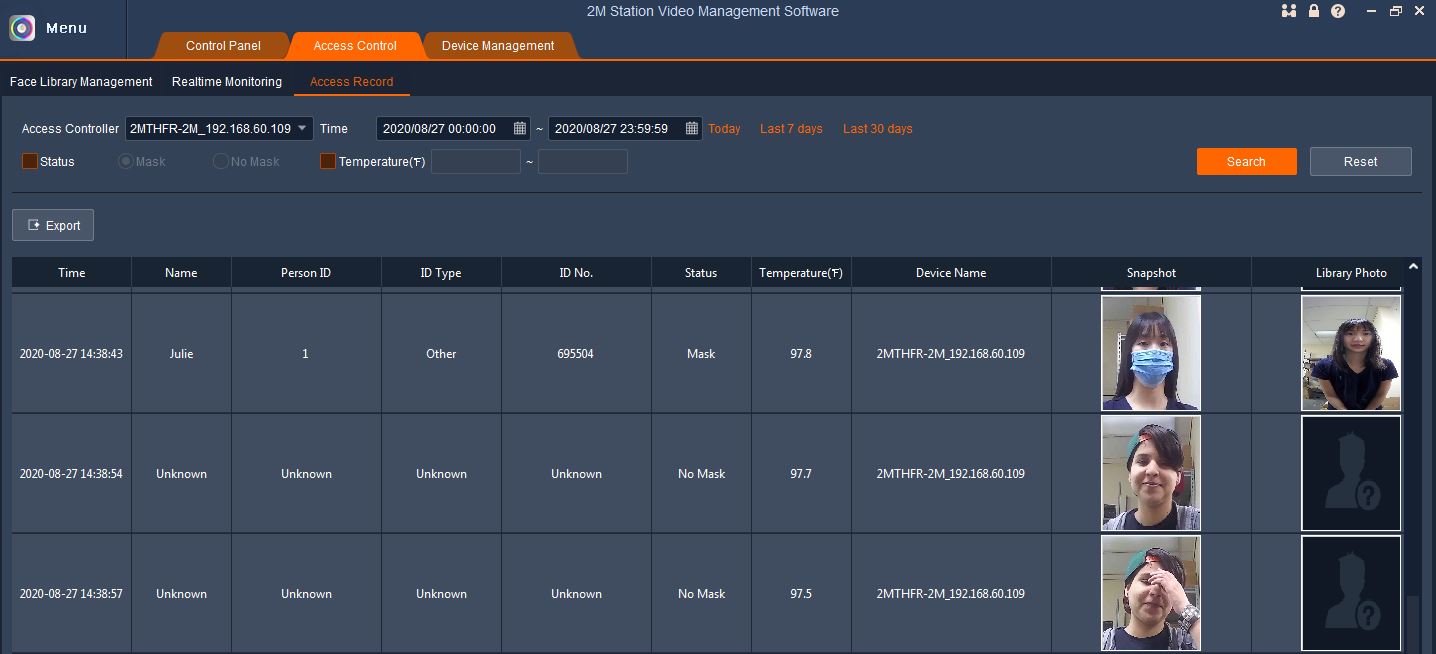
Access Record: allows user to access past records of people who have passed by and scanned on the unit
The real-time monitoring allows for up to four devices at a time on the screen, but you will get the best view with the 3-window screen. In this section, it will also have notifications for when a person scans their temperature, and it will show a screenshot. If a person has their picture saved in the Face Library, it will show as well and be able to recognize a person with a mask on.
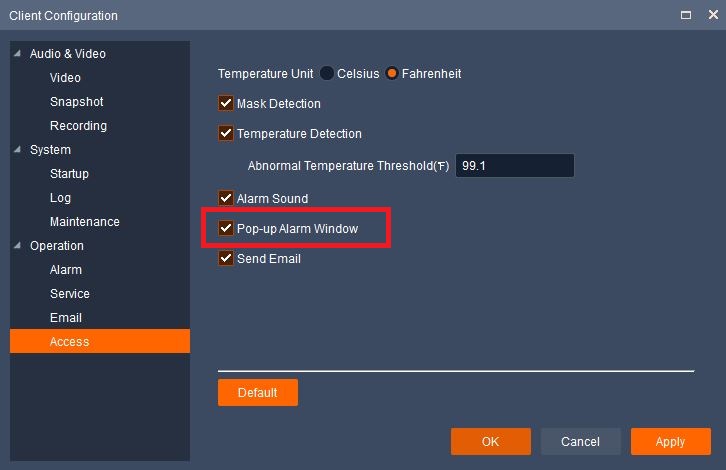
A pop-up window will show also if you want it to be configured that way. Click on the gear symbol next to Pass-Thru Records → Operation → Access → Pop-up Alarm Window
How to Access Records
The Access Records will show:
Time and date a person passed
Their temperature
Snapshot of the person
Name
ID and ID Number
Library Photo
You will only need to choose the date and time range desired and click Search. There is also the ability to show the Mask/No Mask status and temperature range.







Discussion (0)
No comments yet. Be the first to share your thoughts!
Leave a Comment